
How to add All In One Chat to a WordPress website
Learn how to embed Common Ninja’s All In One Chat on your WordPress website without coding.


In This Guide
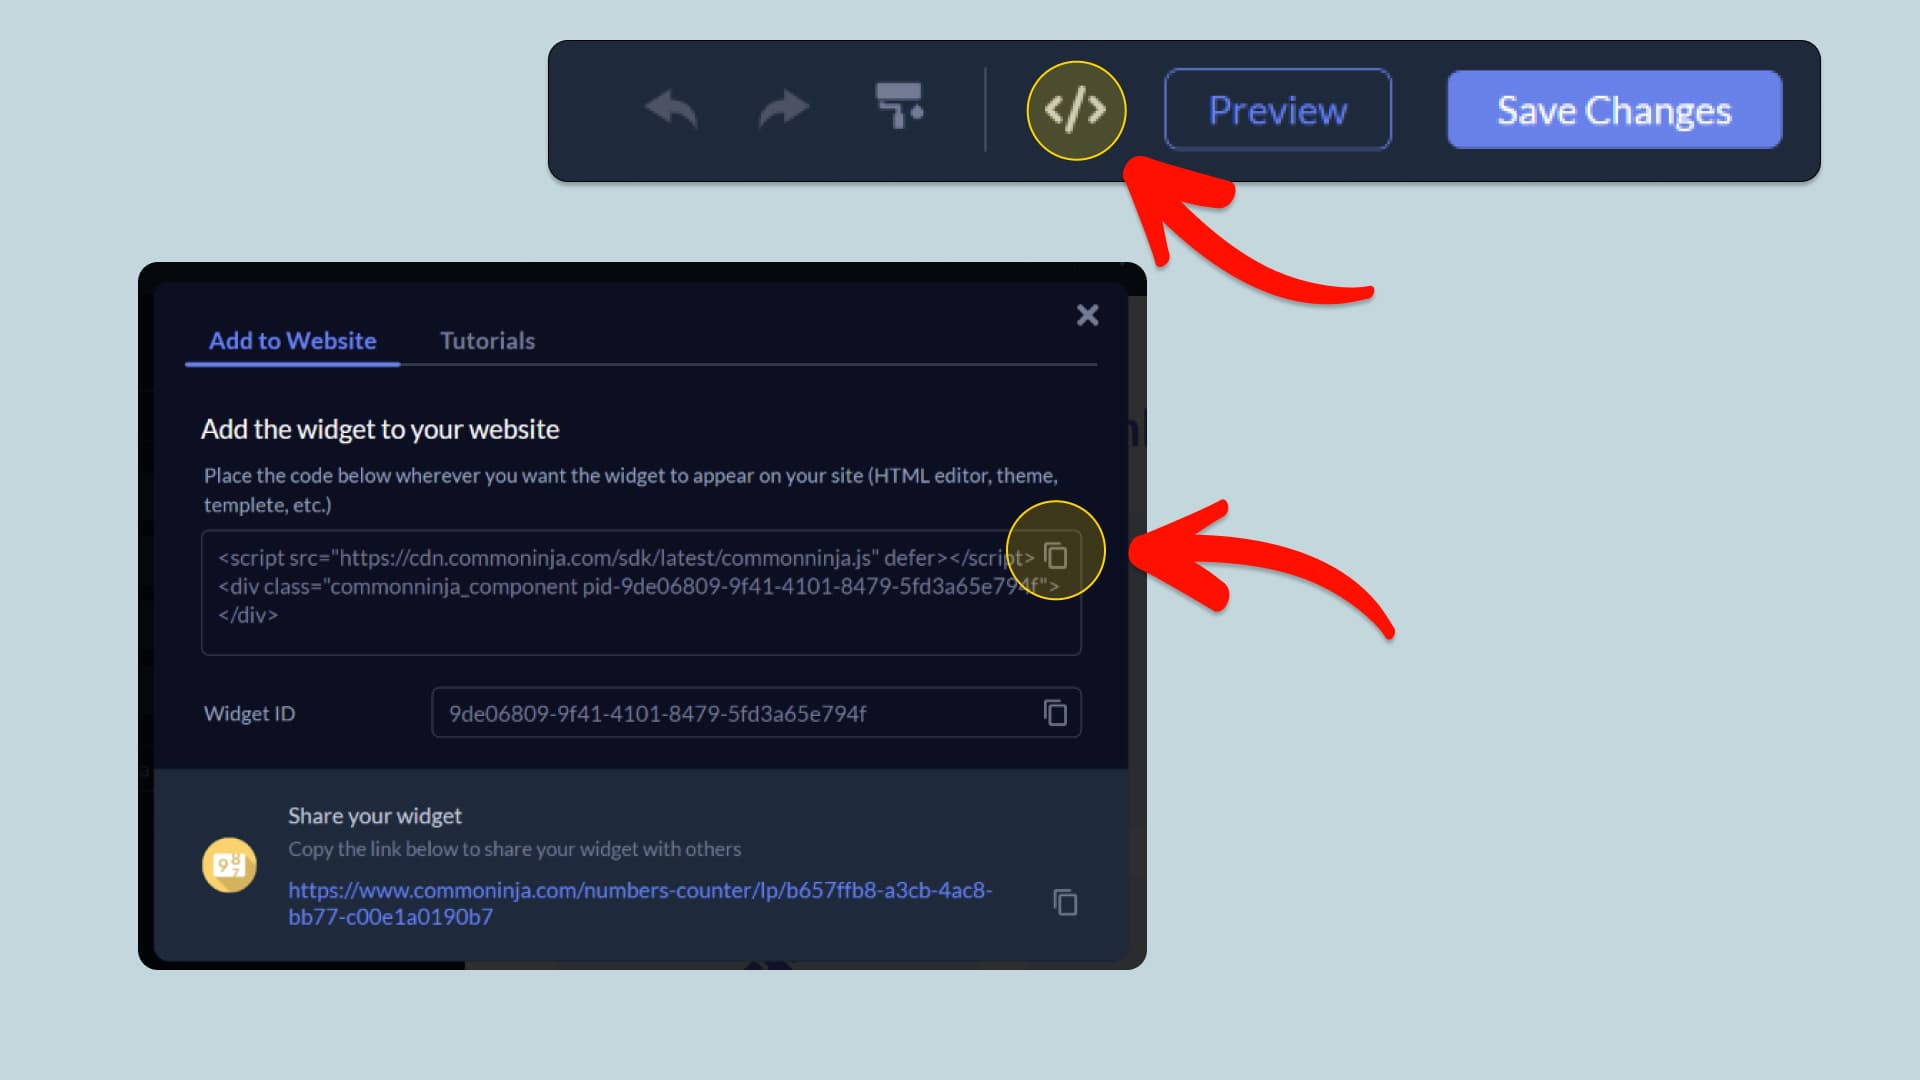
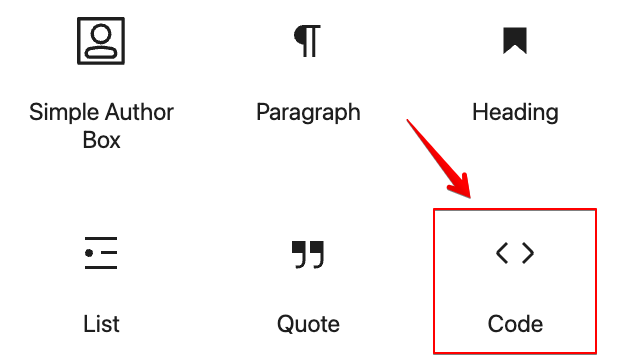
In this quick guide, you'll learn how to embed the All In One Chat into your WordPress website by generating your embed code and adding it seamlessly to your website.
Embed All In One Chat on WordPress
Why Use This Widget
Use the All In One Chat widget when your customers contact you through different channels and you want to bring them together in a single, simple entry point. Instead of showing separate buttons for WhatsApp, Messenger, Telegram, and email, you present one clear launcher that lets visitors choose their preferred method. This keeps your design cleaner and reduces confusion about how to reach you. It is especially useful for global audiences where channel preferences vary by region. Centralizing chat options helps you look organized and customer friendly, and ensures that no matter which tool people use, they feel that support is easy and accessible directly from your site.
This tutorial was written by the Common Ninja product team, creators of interactive, no-code widgets for WordPress website. Common Ninja helps over 500,000 users build engaging online experiences without coding.