
How to add Comments to a Webflow website
Learn how to embed Common Ninja’s Comments on your Webflow website without coding.


In This Guide
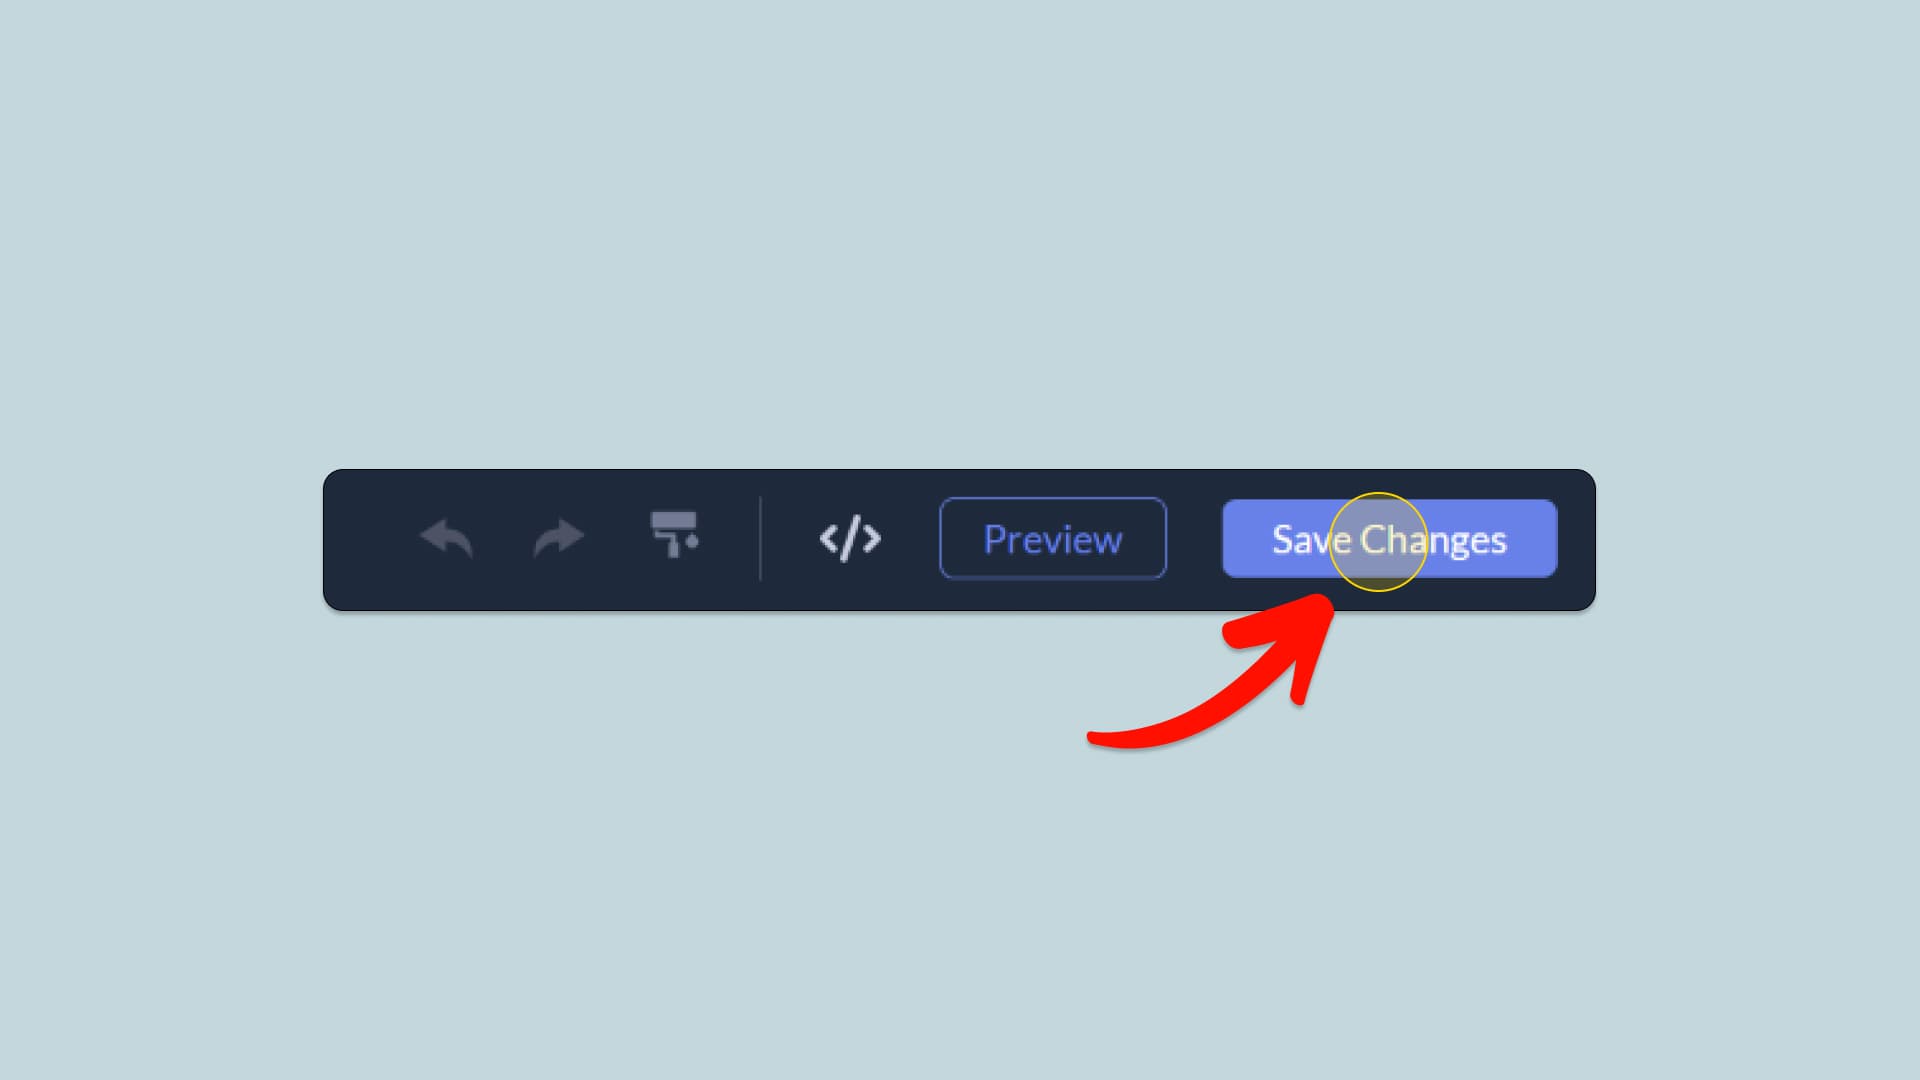
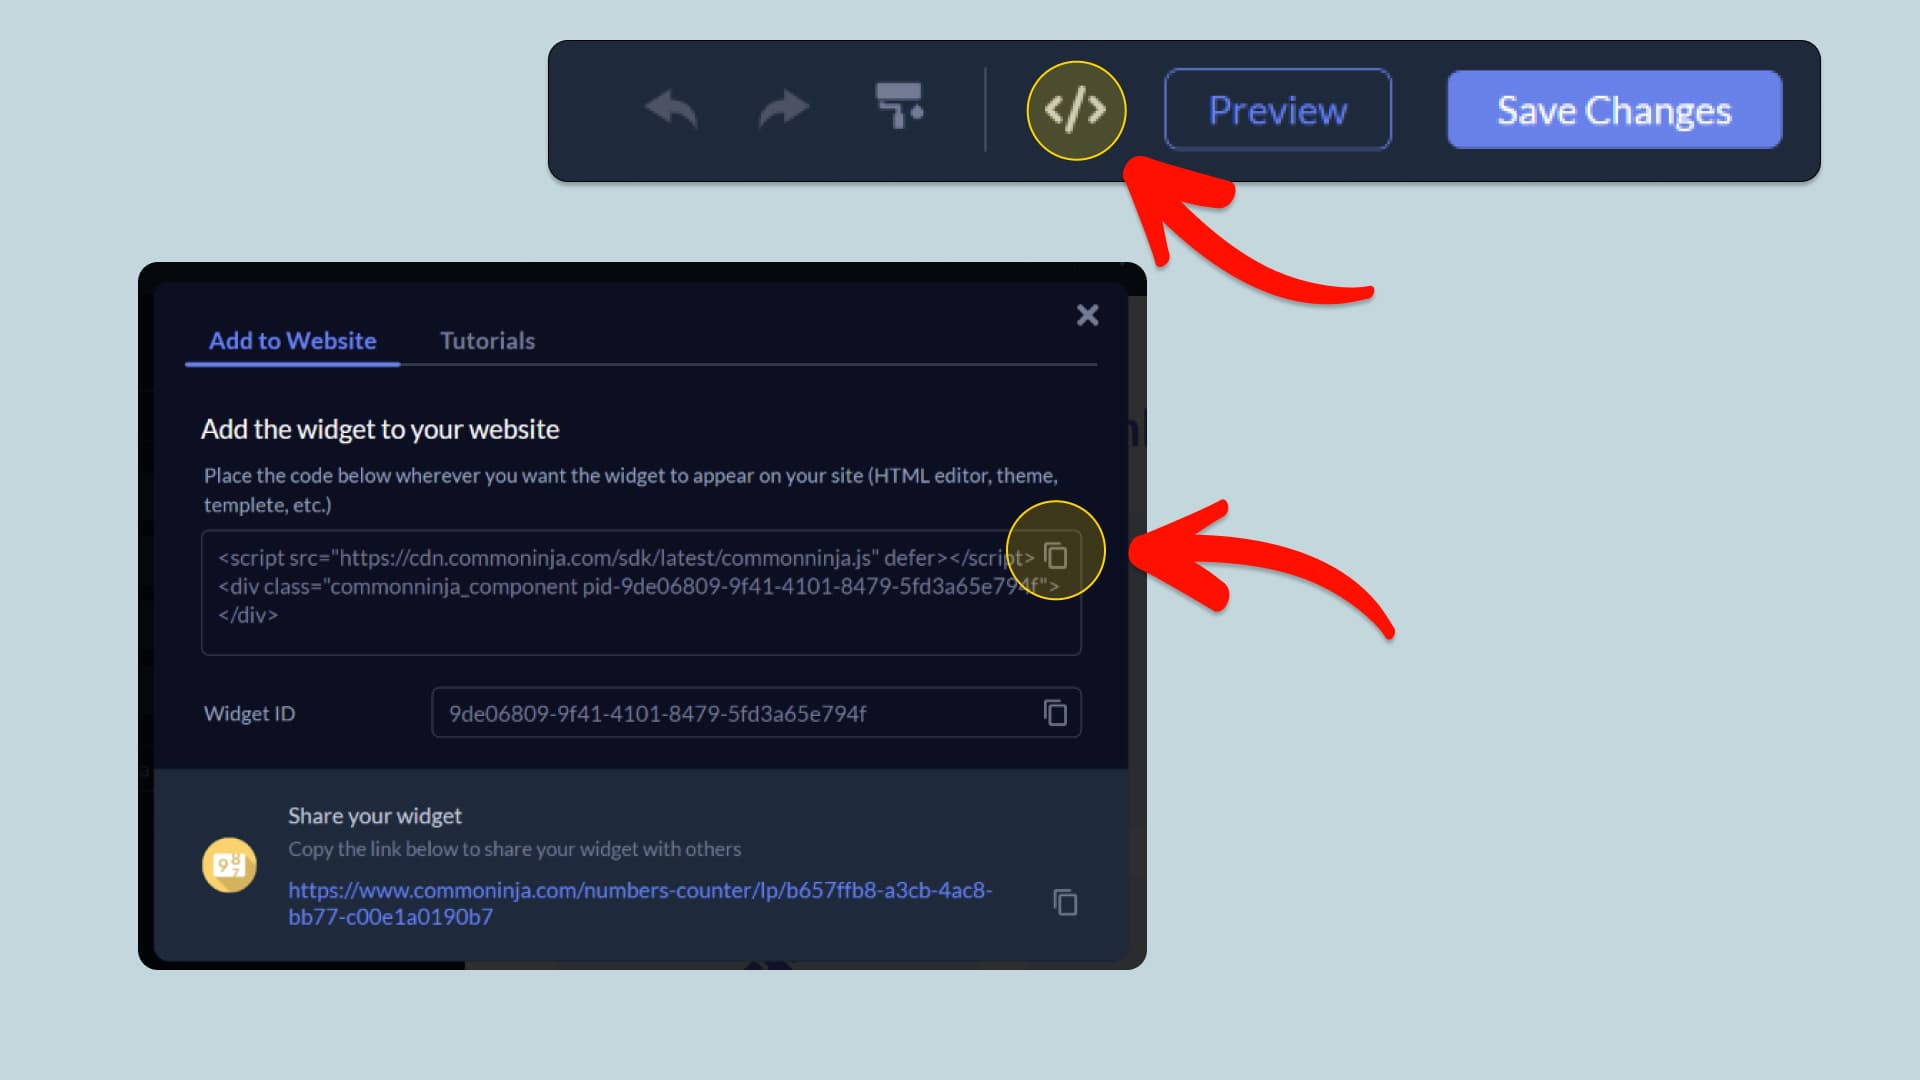
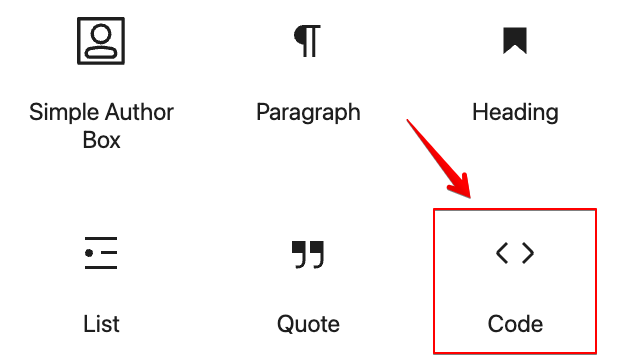
In this quick guide, you'll learn how to embed the Comments into your Webflow website by generating your embed code and adding it seamlessly to your website.
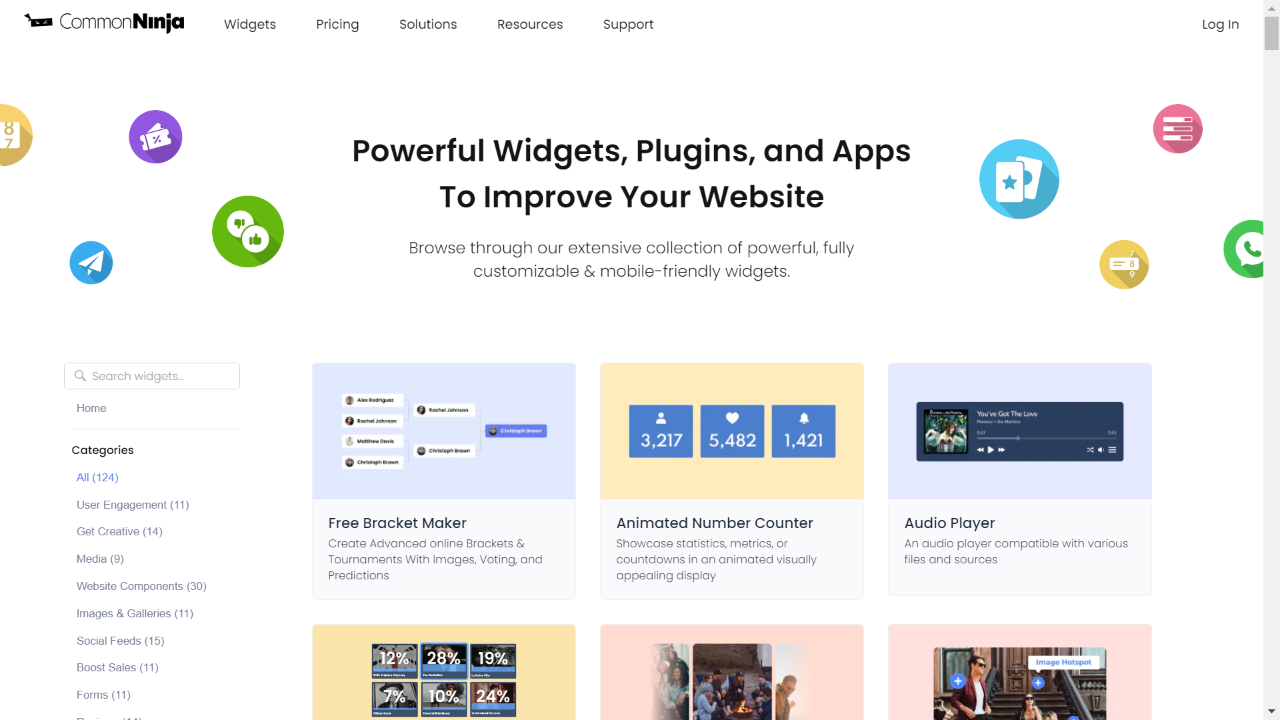
Embed Comments on Webflow
Why Use This Widget
Use the Comments widget when you want your site to become a place for real conversations, not just one way publishing. A built in commenting system with replies, voting, notifications, and moderation tools lets users react, ask, and help each other under your content. This is valuable for blogs, documentation, tutorials, communities, and news sites. Active comment sections increase time on site and give you insight into what people care about or struggle with. By hosting the discussion yourself, you keep ownership of the community and can shape the tone, instead of sending all engagement to external platforms you do not control.
This tutorial was written by the Common Ninja product team, creators of interactive, no-code widgets for Webflow website. Common Ninja helps over 500,000 users build engaging online experiences without coding.