
How to add Multi-Row Image Slider to a WordPress website
Learn how to embed Common Ninja’s Multi-Row Image Slider on your WordPress website without coding.


In This Guide
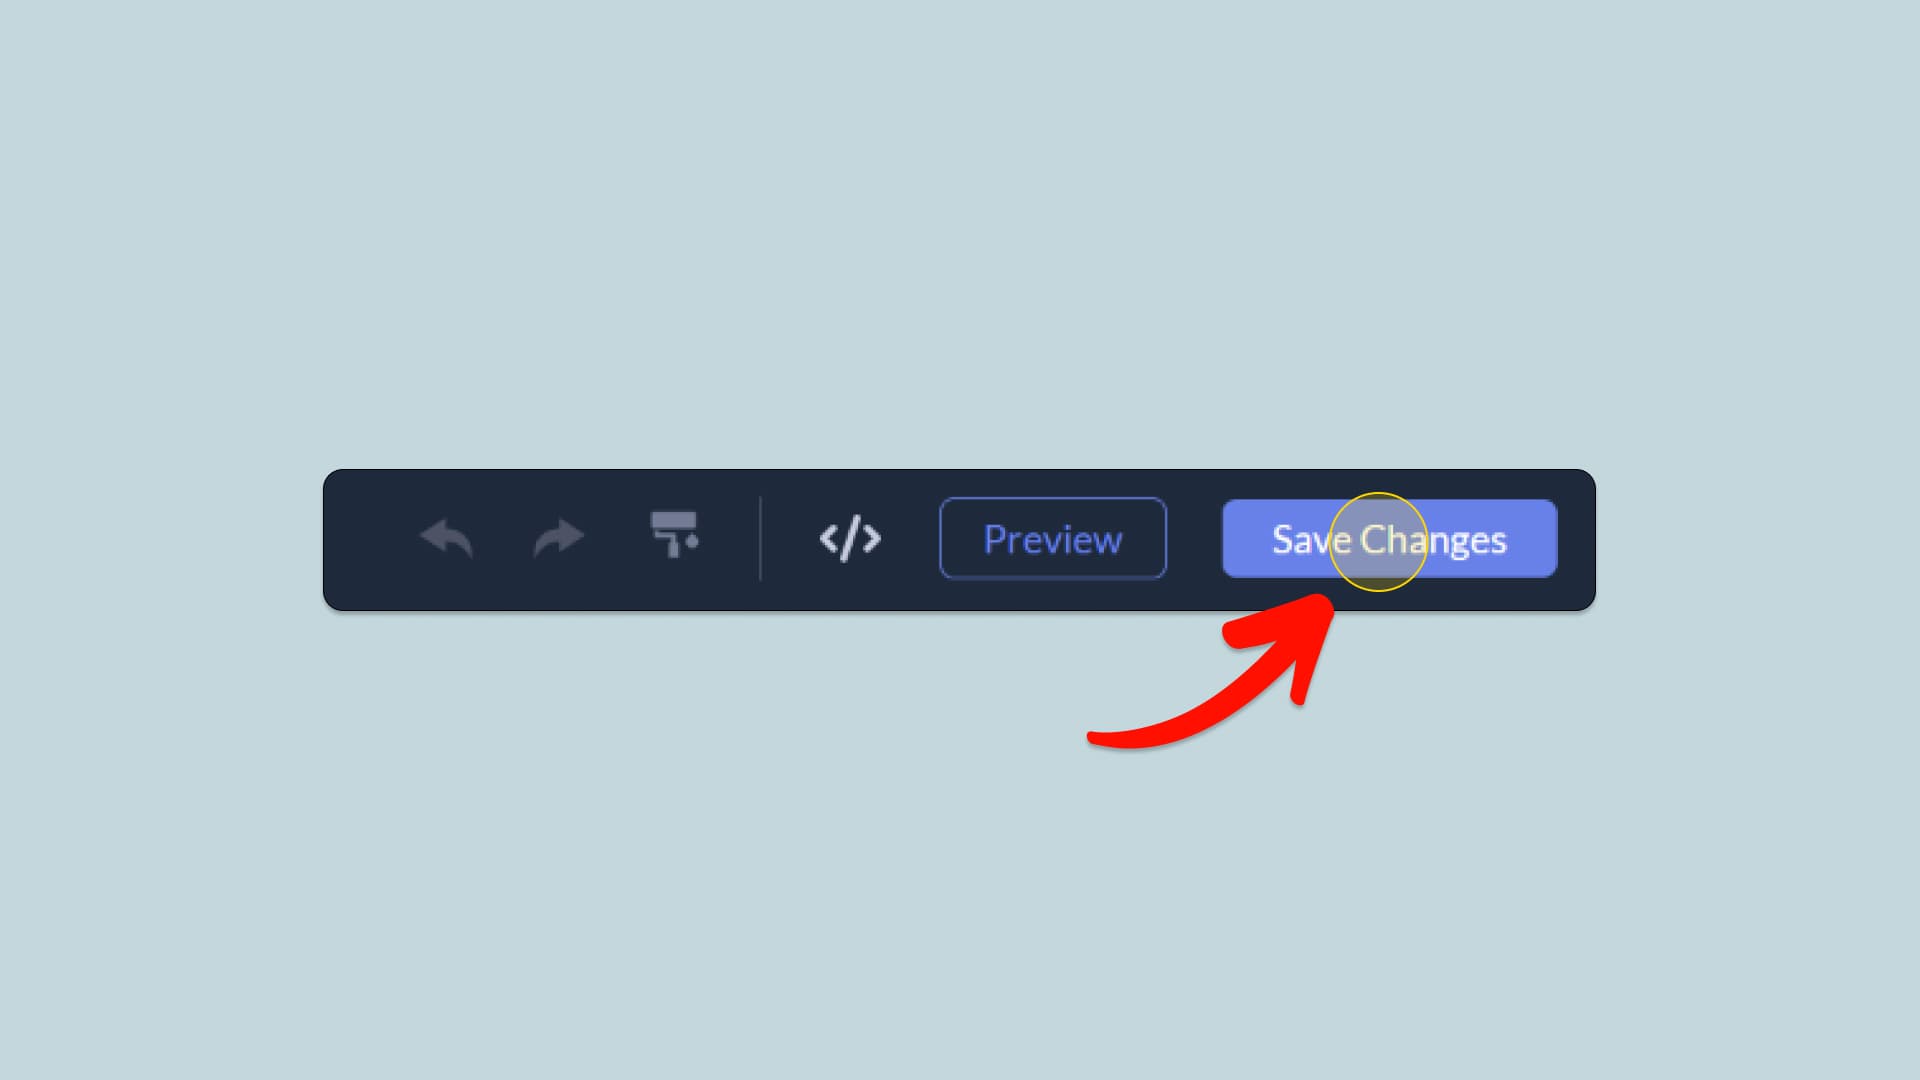
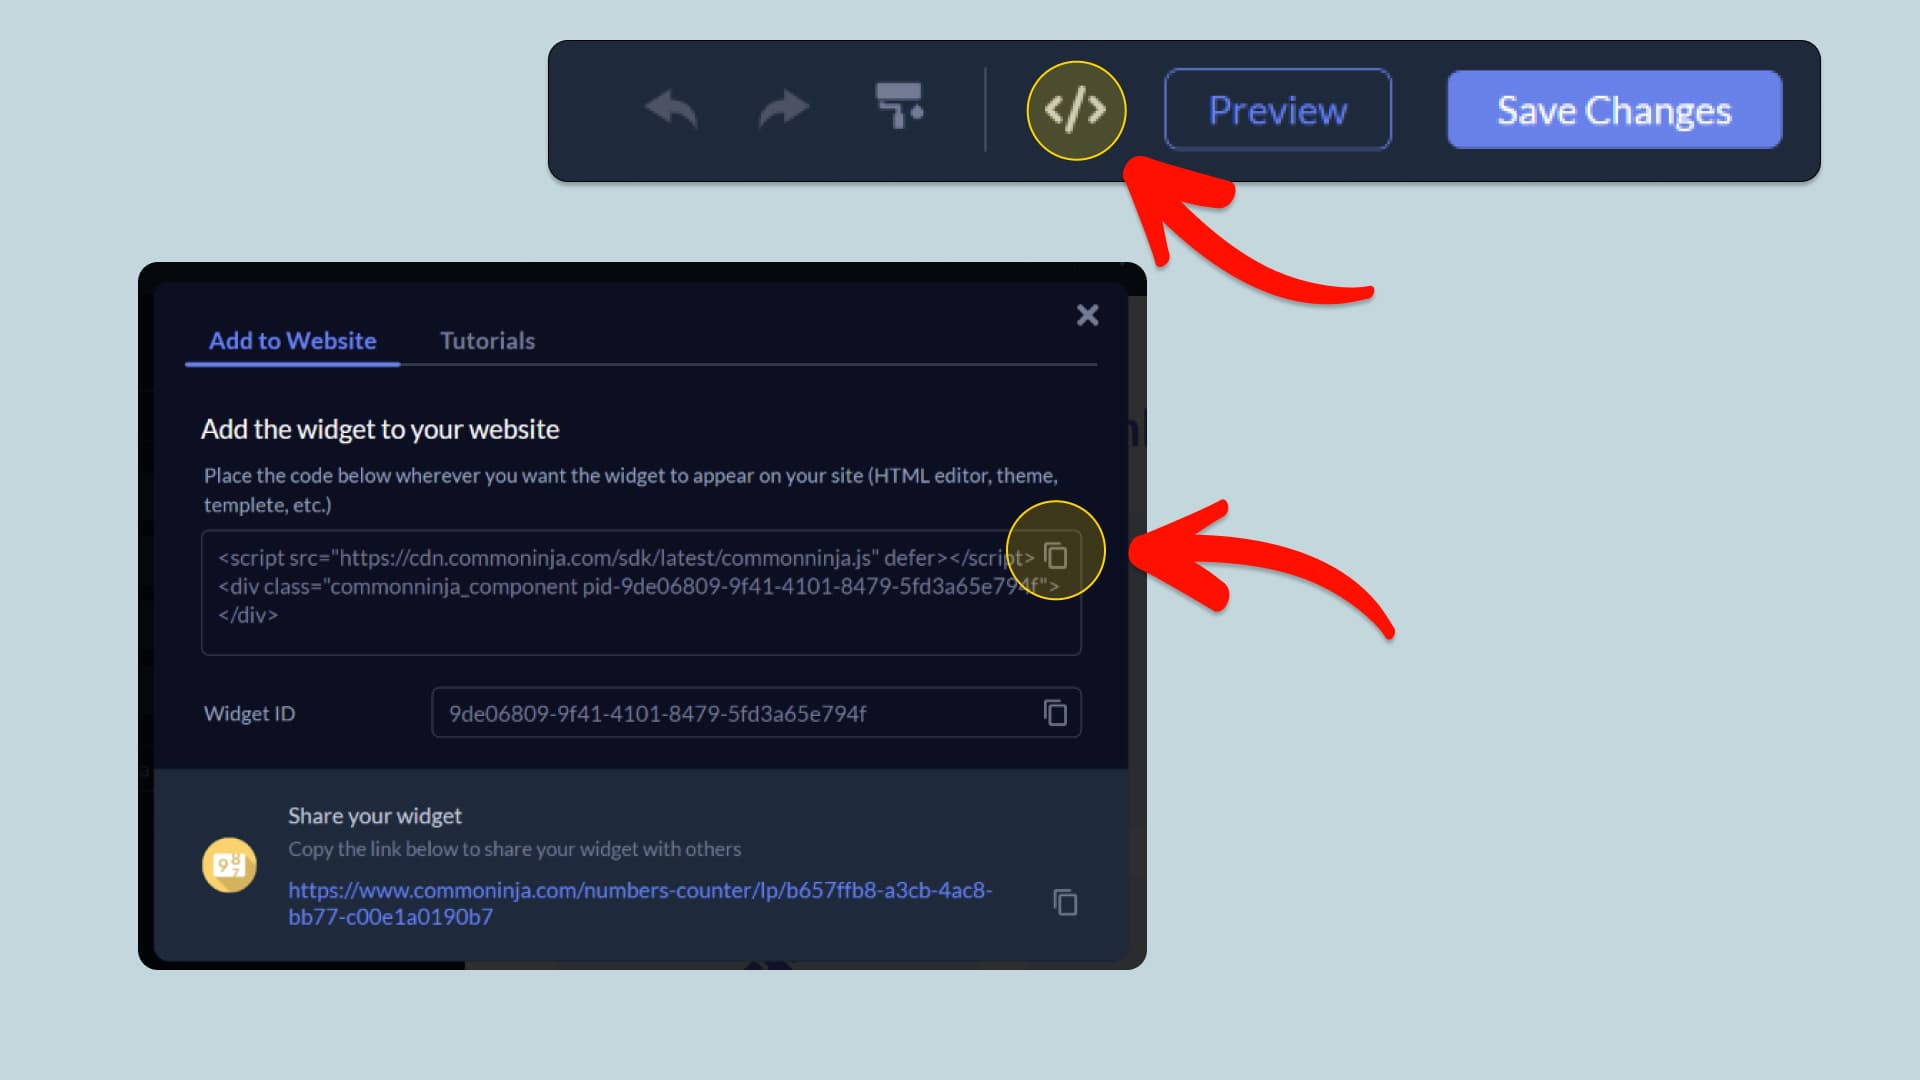
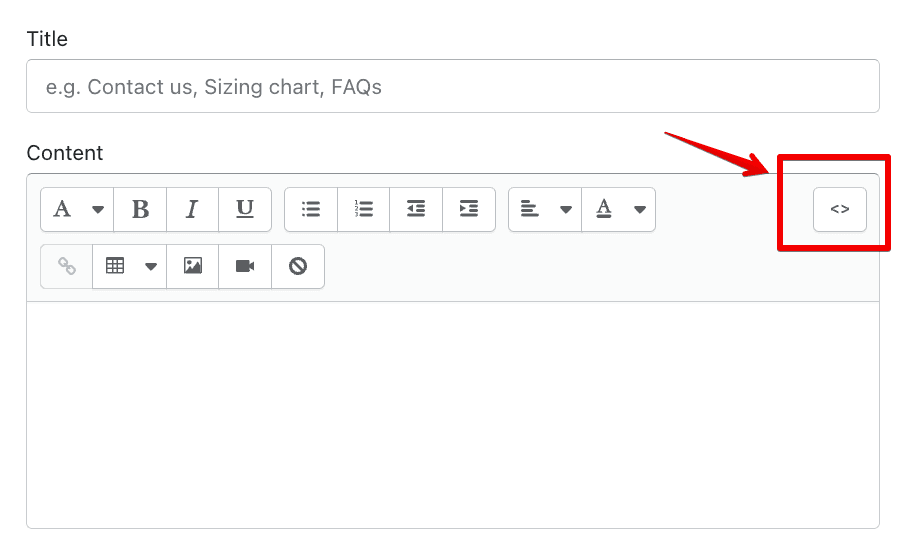
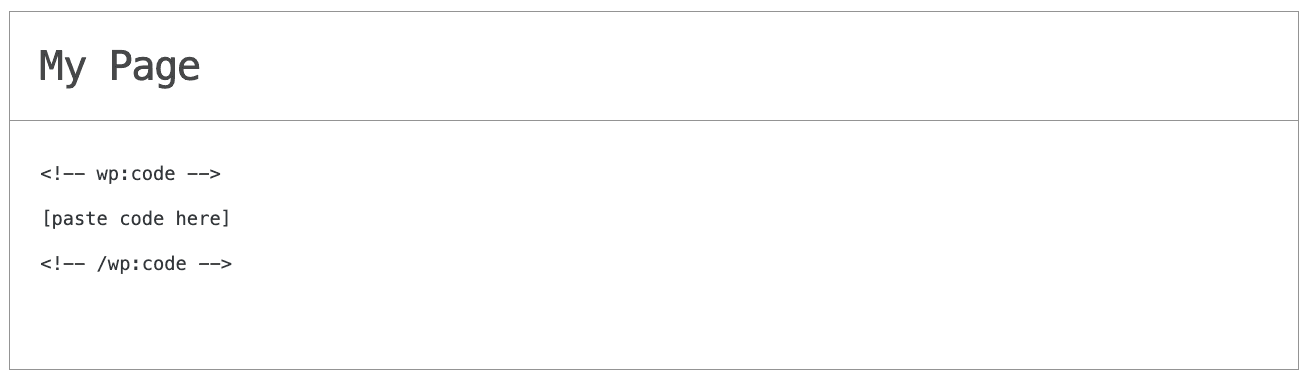
In this quick guide, you'll learn how to embed the Multi-Row Image Slider into your WordPress website by generating your embed code and adding it seamlessly to your website.
Embed Multi-Row Image Slider on WordPress
Why Use This Widget
Use the Multi Row Image Slider widget when you want to display many images in a dense, gallery like format while still offering movement and hierarchy. Multiple rows inside a slider let visitors see several visuals per slide, which is ideal for catalogs, inspiration boards, and brand collages. This design keeps the section compact while avoiding the flat feeling of a static grid. Users can browse horizontally through sets and visually compare groups. It works especially well for visual first industries such as fashion, interior design, travel, and creative agencies that want to show breadth without losing control of layout.
This tutorial was written by the Common Ninja product team, creators of interactive, no-code widgets for WordPress website. Common Ninja helps over 500,000 users build engaging online experiences without coding.