
How to add Popup Builder to a Hostinger website
Learn how to embed Common Ninja’s Popup Builder on your Hostinger website without coding.


In This Guide
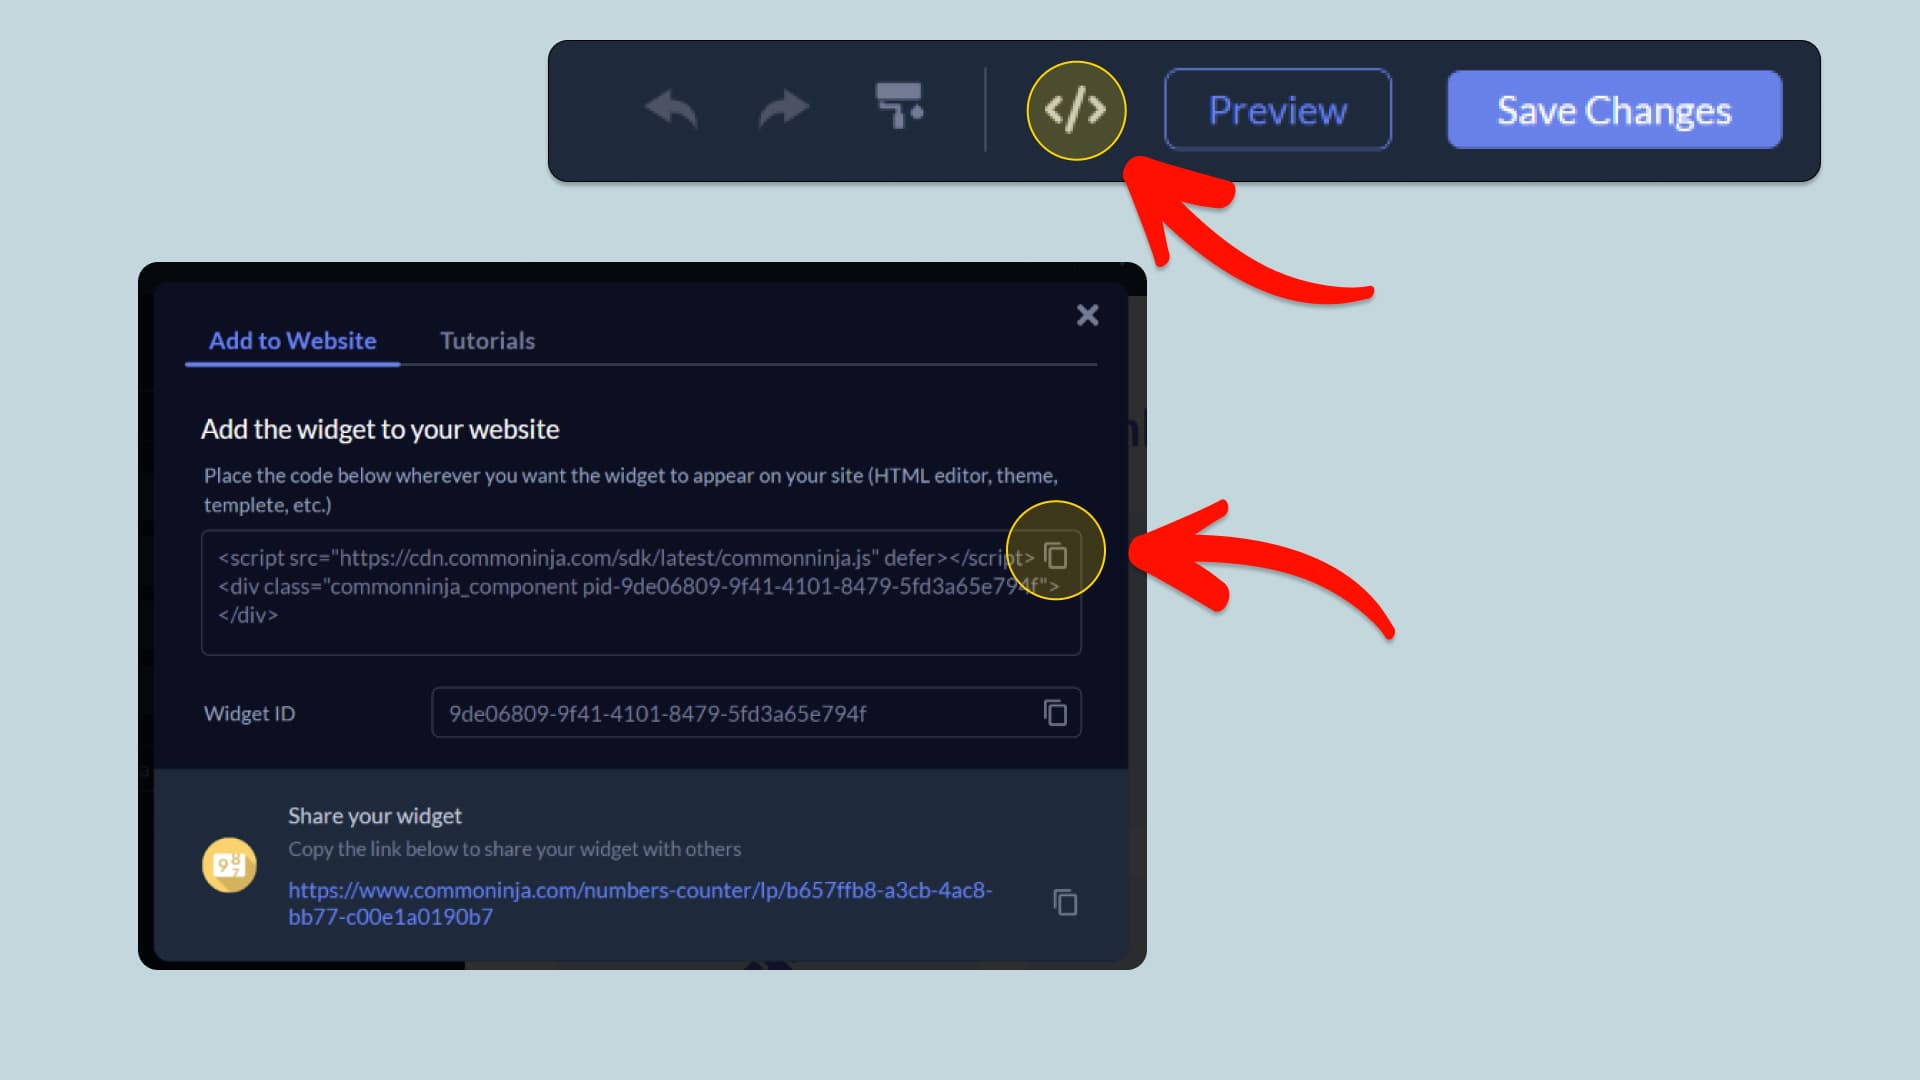
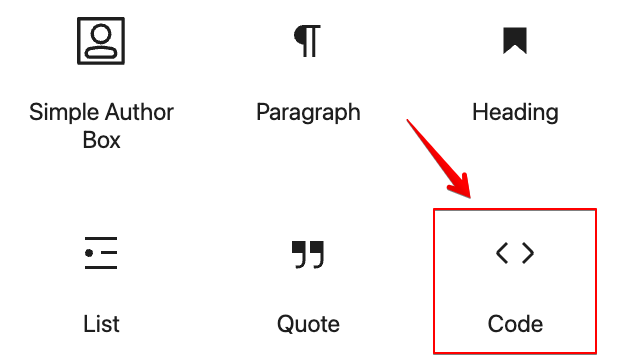
In this quick guide, you'll learn how to embed the Popup Builder into your Hostinger website by generating your embed code and adding it seamlessly to your website.
Embed Popup Builder on Hostinger
Why Use This Widget
Use the Popup Builder widget when you need flexible, targeted overlays for signups, announcements, or offers and do not want to depend on separate tools. You can design popups that match your brand, choose triggers such as scroll, time, or exit intent, and define which pages or segments see them. This is ideal for collecting emails, promoting campaigns, showing gated content, or delivering important notices. When used thoughtfully, popups can lift conversions significantly while staying respectful of user experience. The builder gives you control to test messages, layouts, and timing so you find the balance that works best for your audience.
This tutorial was written by the Common Ninja product team, creators of interactive, no-code widgets for Hostinger website. Common Ninja helps over 500,000 users build engaging online experiences without coding.