How to add Image Map to your website
Learn how to embed Common Ninja’s Image Map on your website without coding.



In This Guide
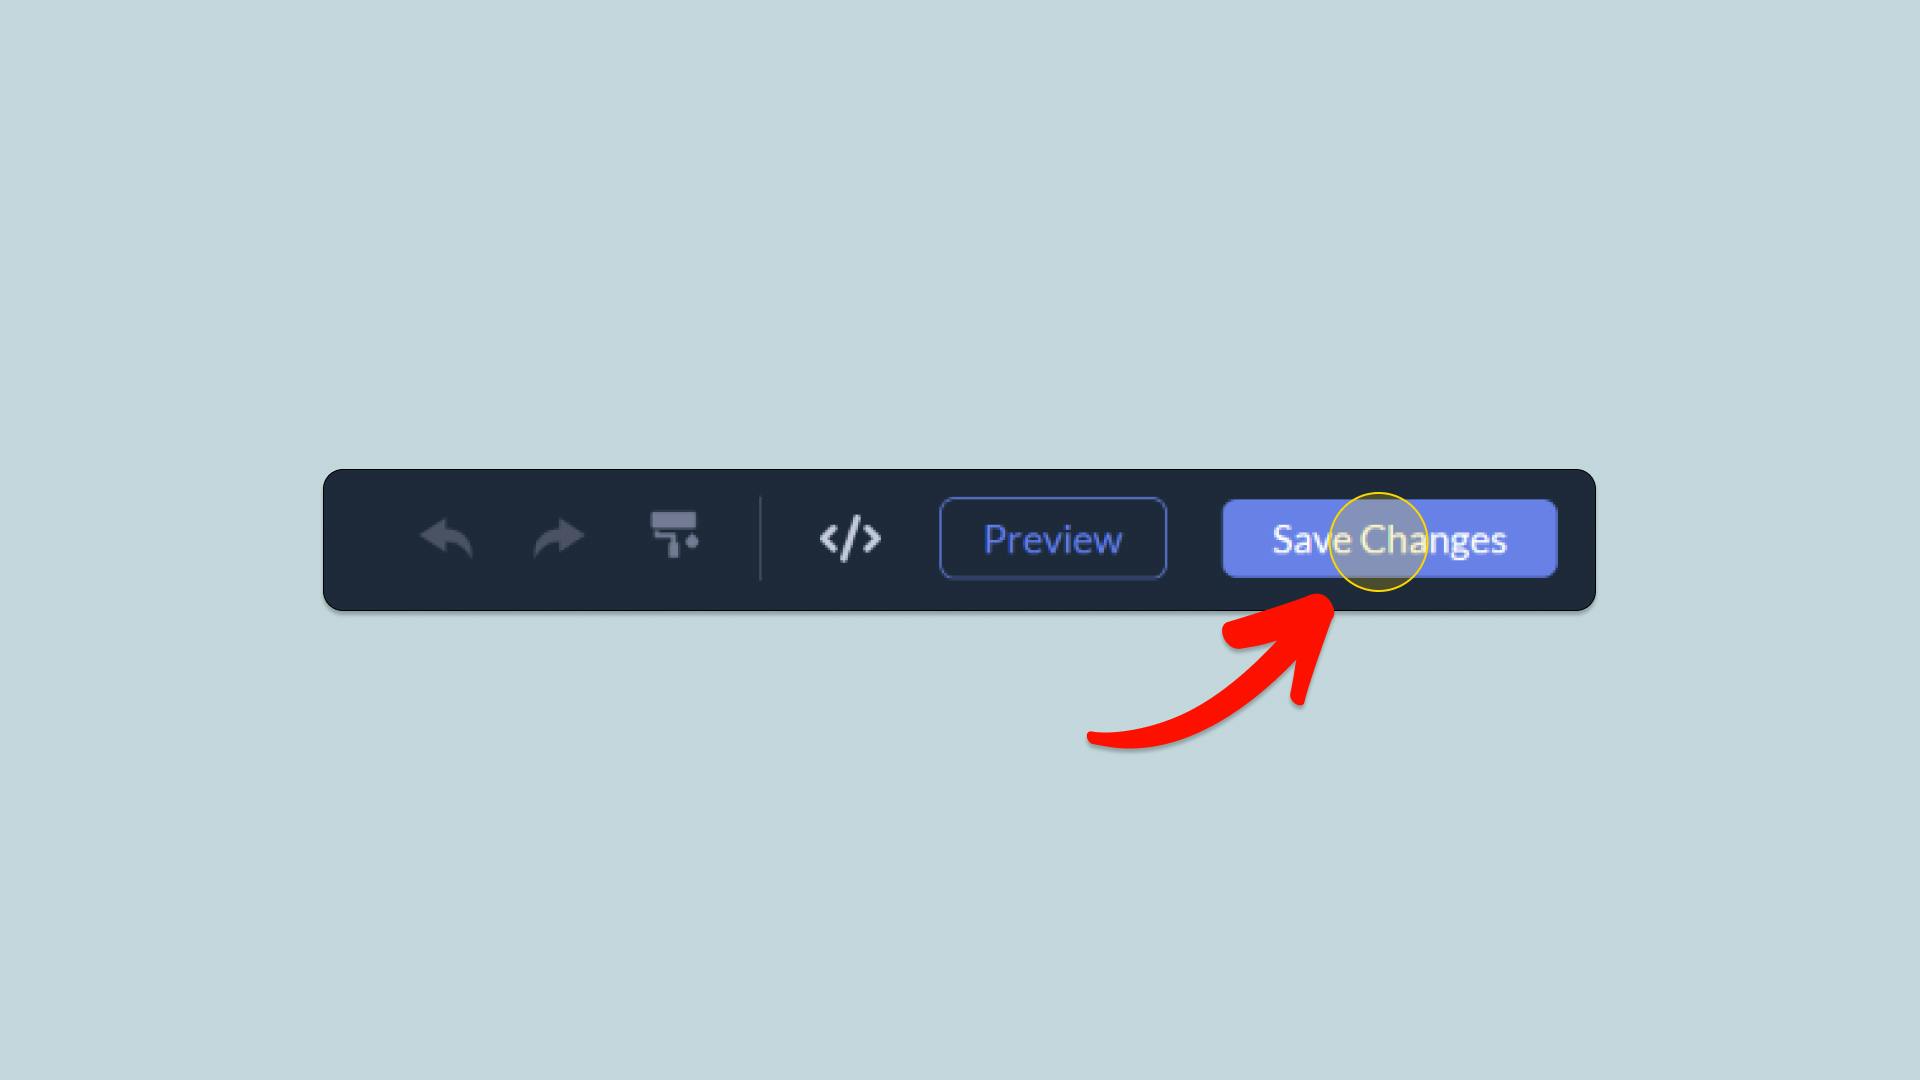
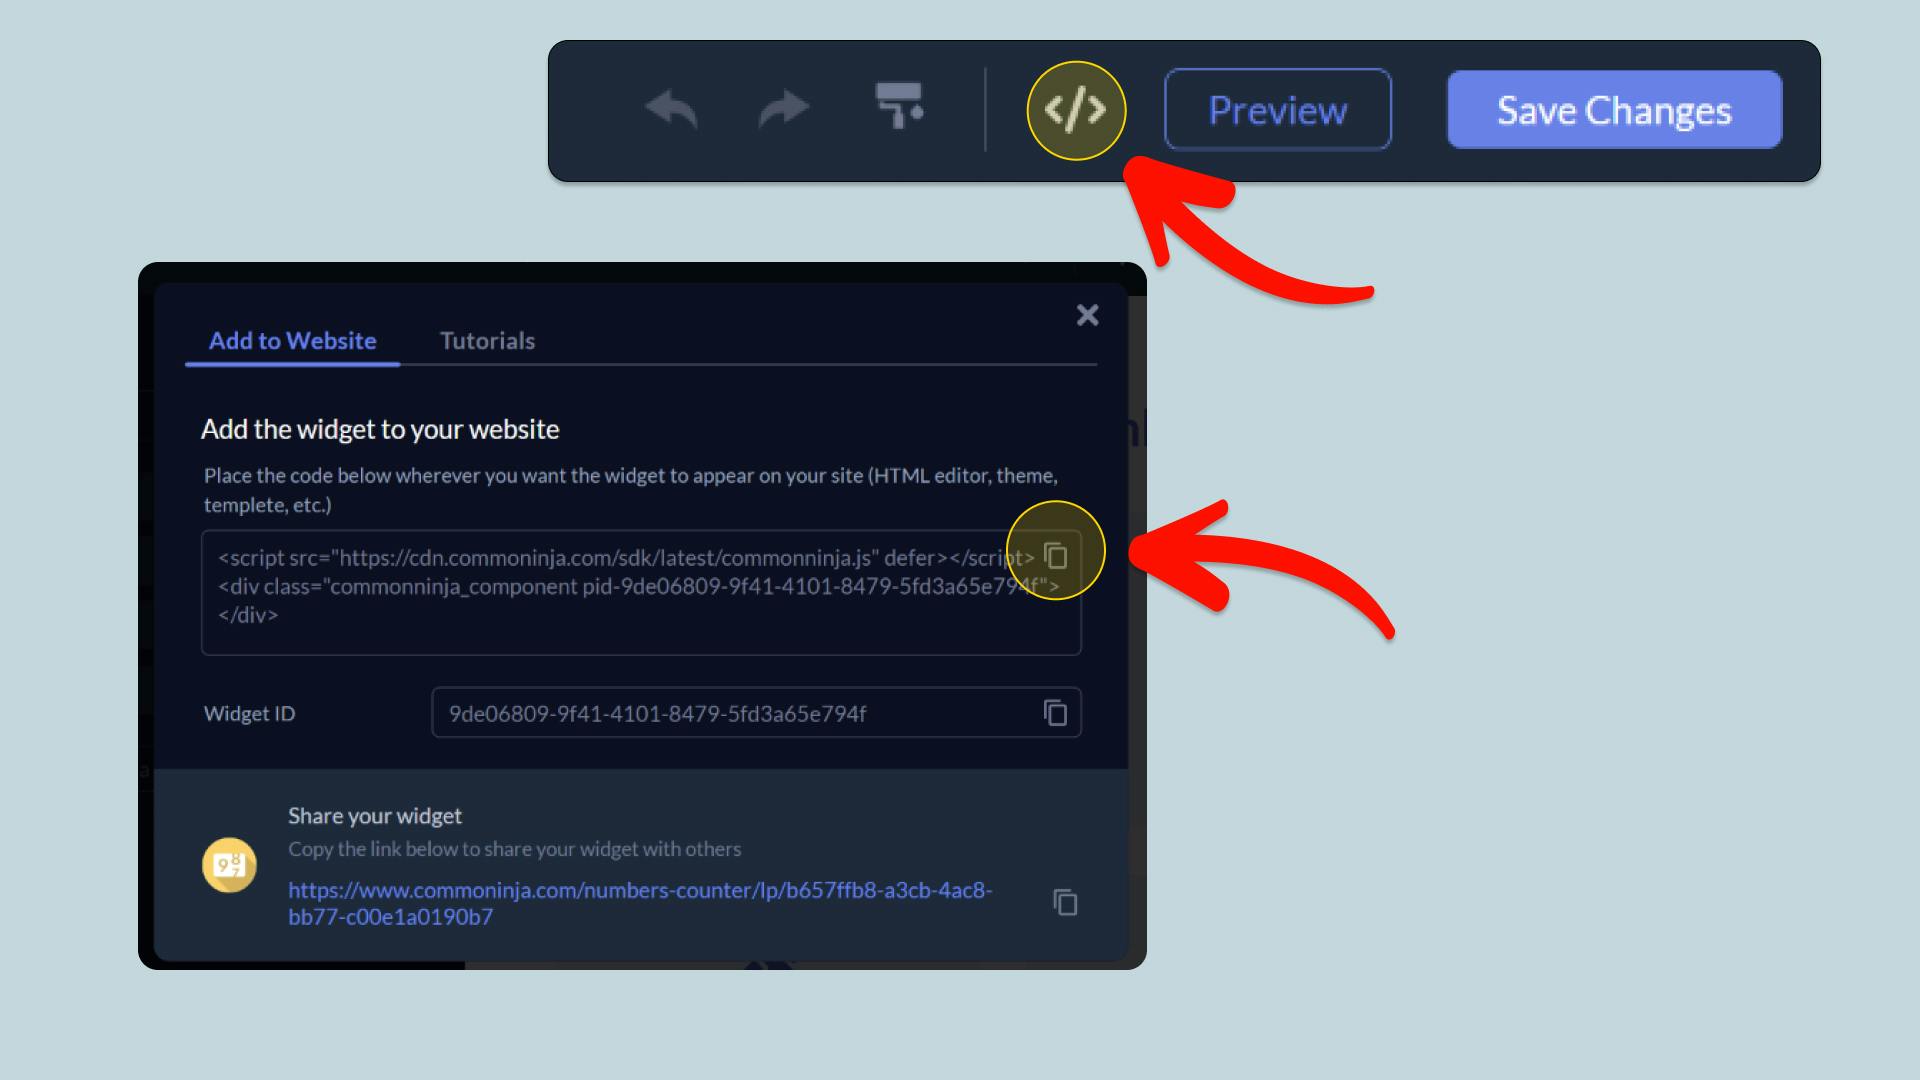
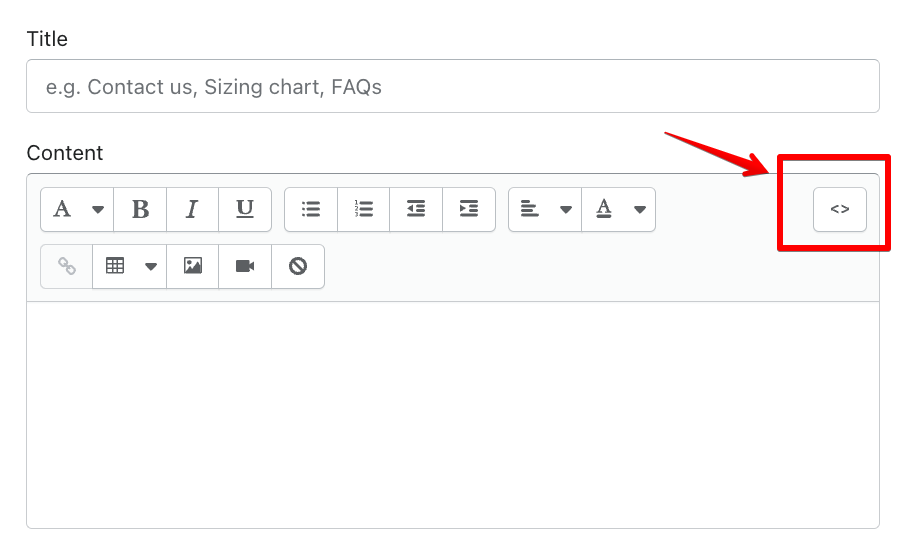
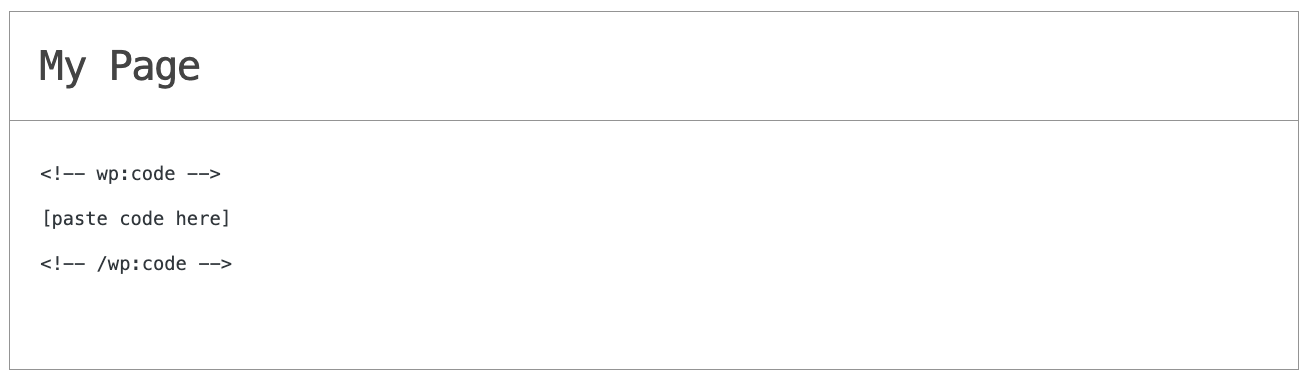
In this quick guide, you'll learn how to embed the Image Map into your website by generating your embed code and adding it seamlessly to your website.
How to Embed Image Map on Your Platform
Choose your platform to see detailed, step-by-step instructions for embedding Image Map seamlessly.


Embed Image Map on Your Website
Why Use This Widget
The Image Map widget turns any image into an interactive experience. Instead of dropping a pin on a single point, you draw the exact outline of each area you want to highlight: a room on a floor plan, a section of a stadium, a stand at a trade show, a part of a product. Every area gets its own name, color, tooltip, and optional link, so visitors can hover or tap to learn more about that part of the image or click through to a related page. Tooltips can appear on hover, on click, all the time, or not at all, and their text supports formatting and links. Area coordinates are stored as percentages of the image, so every shape stays aligned as the image scales from desktop to mobile. You can set the image size to its original proportions or crop it to square, 4:3, 3:2, or 16:9, add a title and a caption, and style fonts, area opacity, borders, and tooltips to match your site, with custom CSS available for finer control. When it is ready, embed it on any website without writing code.
This tutorial was written by the Common Ninja product team, creators of interactive, no-code widgets for websites. Common Ninja helps over 500,000 users build engaging online experiences without coding.